360 degree vision on screen brings us closer to reality. What better can we have than to see such a holistic view. We can better visualise the object with 360 degree photographs. It’s as good as having the object in front of us, or say, in our hands. Virtual reality industry has been on the rise since the last 4-5 years. The USP of Virtual reality is it’s proximity to reality. We can have overall view of locations and actually experience reality beforehand. This makes it unique and explorable. Starting with games, virtual reality has found its place in marketing as well. With 360 degrees of product photographs, customers were able to better judge the product. This offered them a whole new world of liberty. They were able to make an informed decision regarding all aspects of a product. Along with that, it made them comfortable with the process of online purchase as many people were averse to online shopping earlier because it didn’t offer them a hands-on experience or a complete view and feel of a product. With such photographs the viewer can get a complete view showing all the details of a product with clarity. Now, we can gauge the advantages but what about the process that results in such photographs? How to actually achieve a great 360 degrees shot? We’ll look into the details of this process.
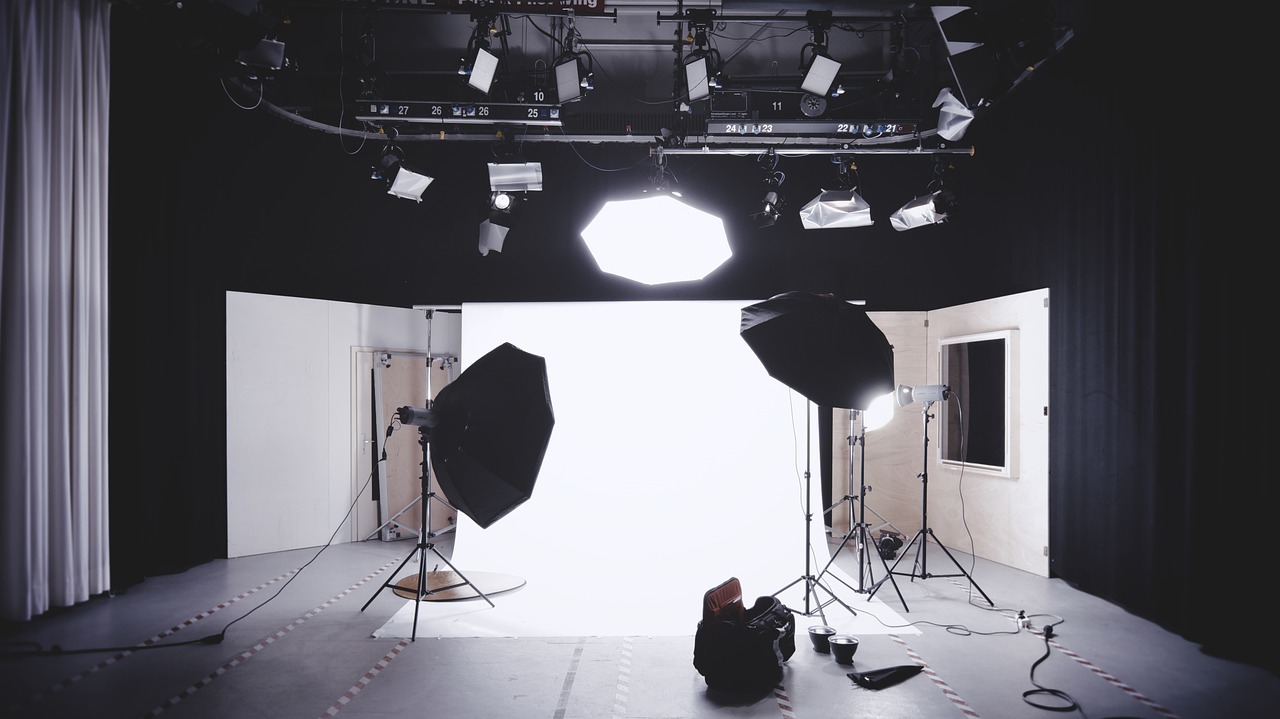
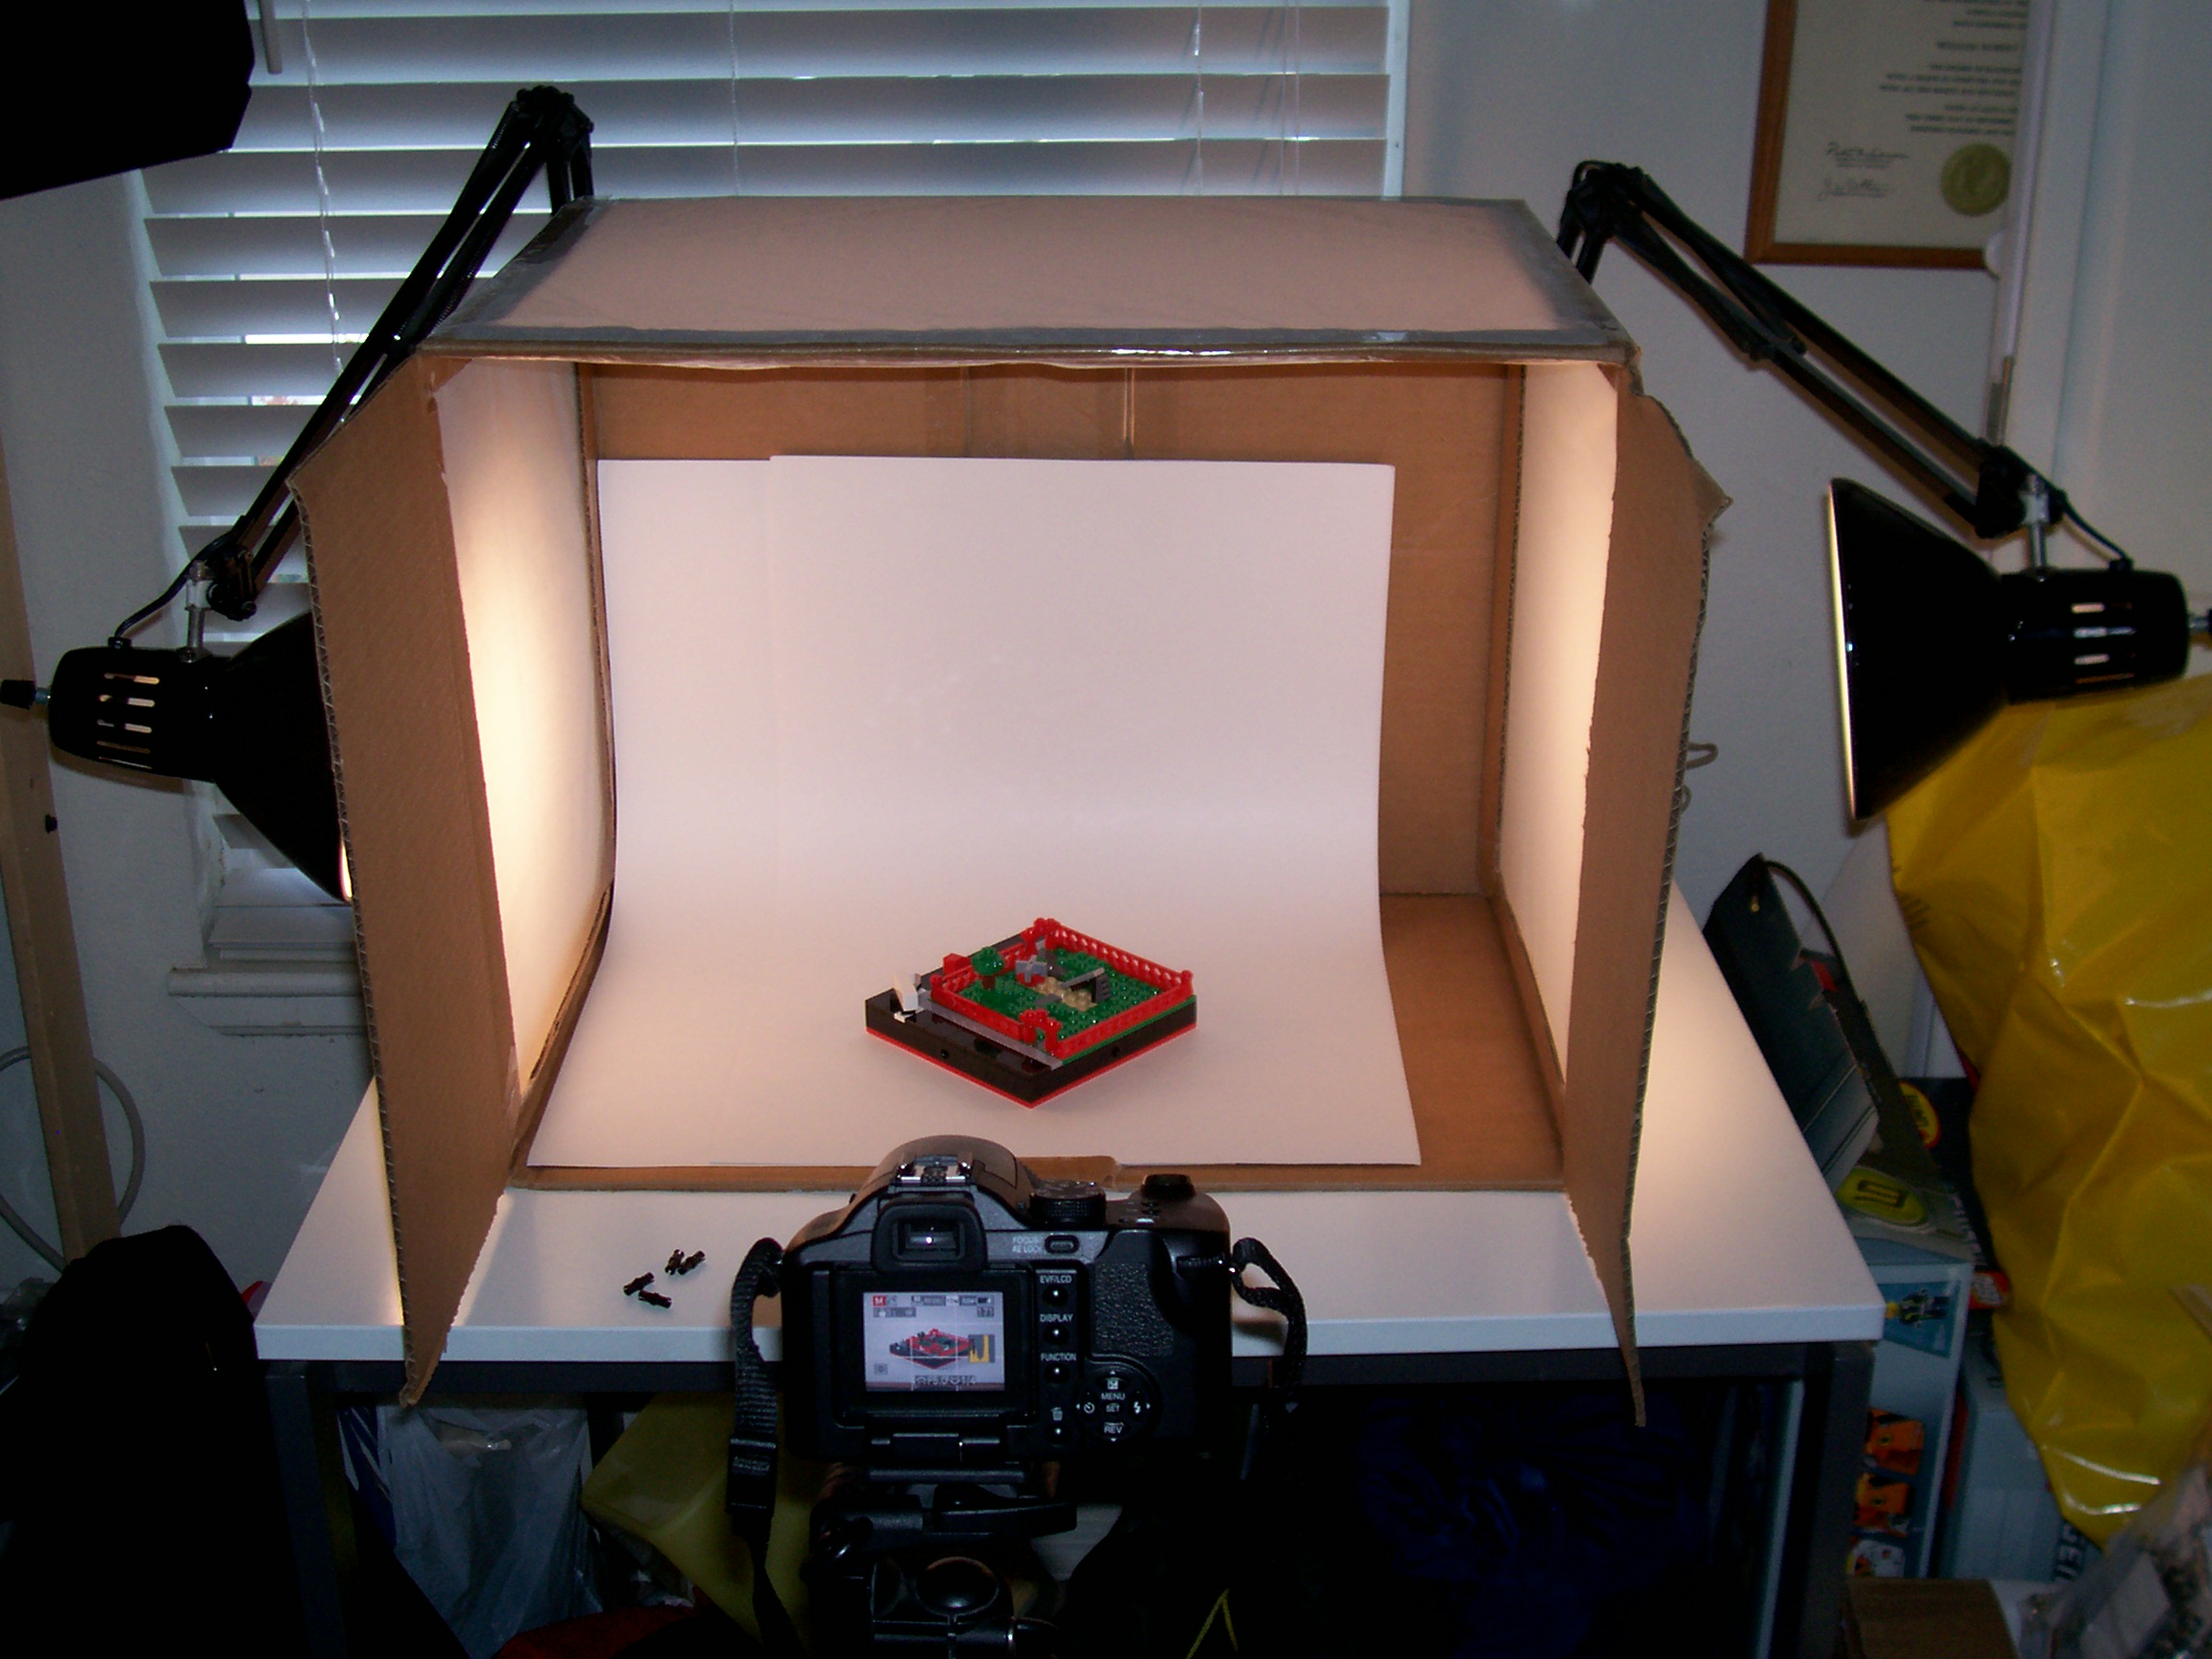
First of all, some things are to be put in place before starting with the shoot. Following are some of the basic elements required to be assembled for a 360 degrees product photography.
- Genie mini – the turntable on which the product will be placed. Cover the table with a plain sheet, that forms the base for the product. A white sheet is usually preferred for this purpose as it reflects all the light falling on it. The turntable can be purchased or can be easily made or assembled at home.
- Smartphone app – an app that is compatible with the turntable rotations can be used to synchronise the settings of the turntable and the camera. You can adjust and set the number of photos you want to take in a complete rotation. You can also make an animated video or timeline frame using the app and then edit and customise it according to your requirements.
- Background – the background should be rolled out from the back towards the product. It helps to fill the entire frame. The light source from the top enhances the visual as it completely brightens the object. Usually white backgrounds are used to provide full brightness to the object being photographed.
- Light source – the light source at the top illuminates the rolled out background really well. A key light can also be used, on both sides of the product, to make light bounce off its surface onto the object.
For an effective 360 degree photograph, 12 frames are shot. Now, having decided the number of frames, you need to see which one is the first shot or the beginning shot and the final shot. There are still some intricate details that you need to consider along with the setup.
- Shooting angle – an important aspect of this shoot. Camera lens should be pointed at the center of the turntable. Use a steady tripod to ensure stability of the camera. No other camera angles would provide such a holistic effect as the outright front one. In order to make every little detail visible, it is highly recommended to use a perfect angle for the shoot.
- Center of product – accurately locate the content of your subject i.e. the product you are going to photograph. You can use spiral sheets customised for this very purpose. Mark the center with the help of a tack and place it on the turntable.
- Product display – use a turntable, as mentioned above, to display the product. Use a remote to rotate it smoothly. You can also use app, if supported by the turntable. Align the center of the product to the center of the turntable, and then place the product on turntable. Keep in mind to match the center of the product and turntable correctly.
- Take photos – take 72 photos from position ‘1’ to ‘72’. Take 36 photos from odd numbered positions between ‘1’ and ‘72’, i.e. 1, 3, 5, 7…and so on. Get a smooth 360 degrees image by using 72 photos, but the file size is bigger. Use manual mode and set the camera Iris and shutter speed. Use a remote control to rotate the turntable and then shut it off also.
Now, with the technology paving the way for new and evolved methods of photography, we have softwares for each and every scenario. Softwares like PackshotCreator R3 photo studio are used to create stunning 360 degree flash animations or on HTML 5 of the product. It is better achieved with a white background. Everything, from lighting intensity to table rotation, is taken care of by the application or software. It offers 1 click capture to create 360 degree animations, minimising the physical effort for the photographer. Even backlit turntables with reinforced glass are available these days. This exclusive backlit system is controlled by the software and can be adjusted from 0 to 100%. It also enables synchronisation between the camera and the turntable down to the last degree. Finally you can generate interactive animations compatible with multiple platforms like Flash, HTML, iPhone, iPad and Android. You can achieve perfect results for immediate integration on your website. It allows high definition 20x zoom. So you can get efficient product animations without retouch. To usher in the new era, you have got to give this new trend a try. It is going to revolutionise your product communication. High degree of interactive photographs or animations provide viewers a visual treat. This in turn enhances the viewership of the website. It’s like win win for both the customer and the content provider. So, behold the changing times and trends and be ready to witness the next generation of user friendly hi-tech content.


