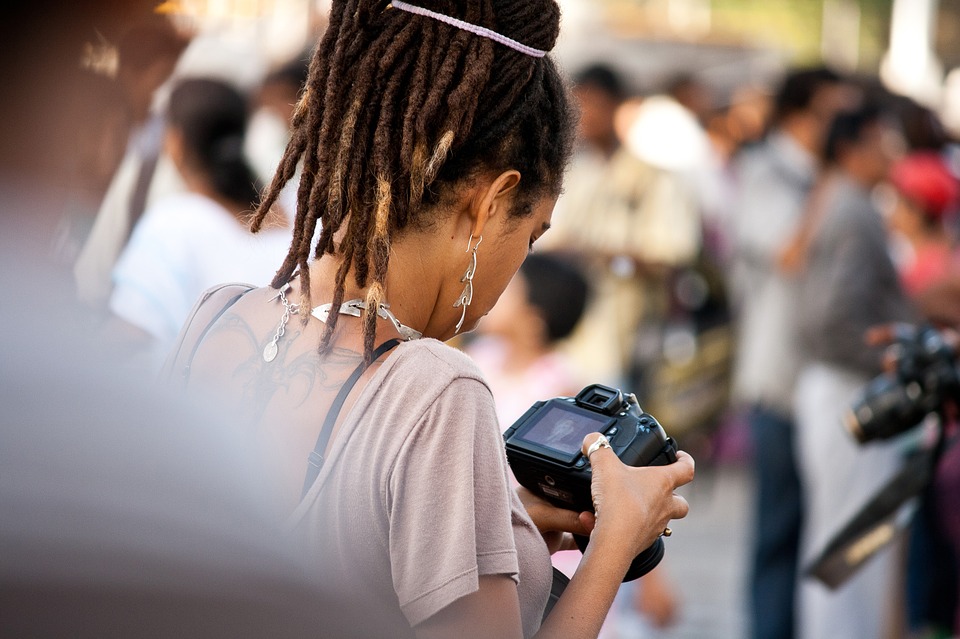
Every photographer comes across thousands of hurdles on his/her photography journey. They face a lot of challenges but, their never-ending passion for work keeps them going. Also, every field of photography requires patience and hard work. Most of the problems are faced in the ecommerce photography.
In ecommerce photography, there are n numbers of product with n number of properties. For instance, shooting a metal product becomes difficult if you do not know how to tackle the reflections. In the same manner, there are few jewellery pieces which are extremely small in size. If you do not know how to perform macro photography, you may fail in the jewellery photography.
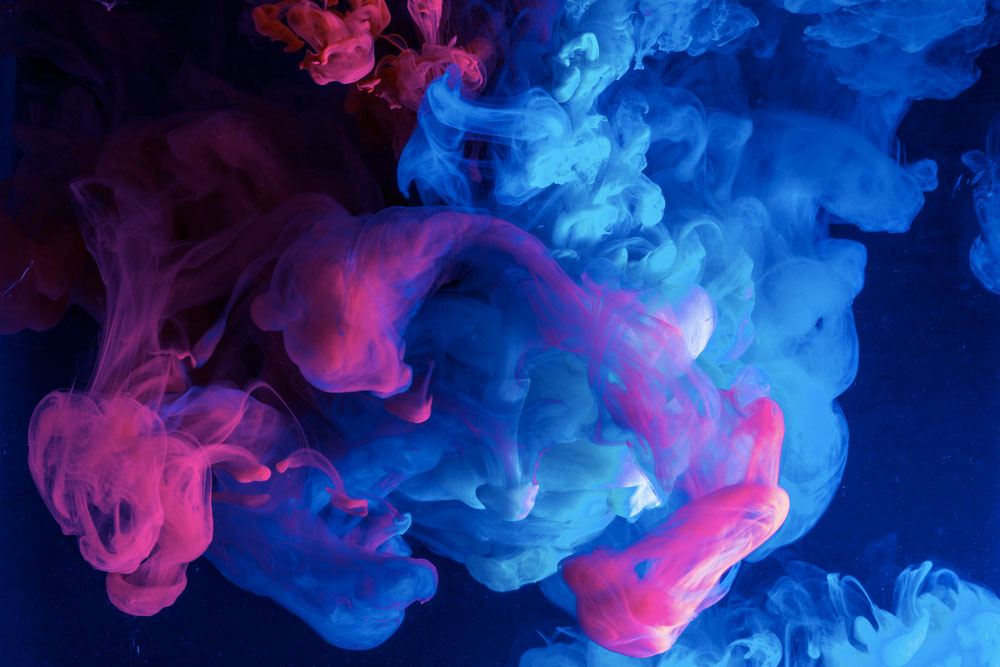
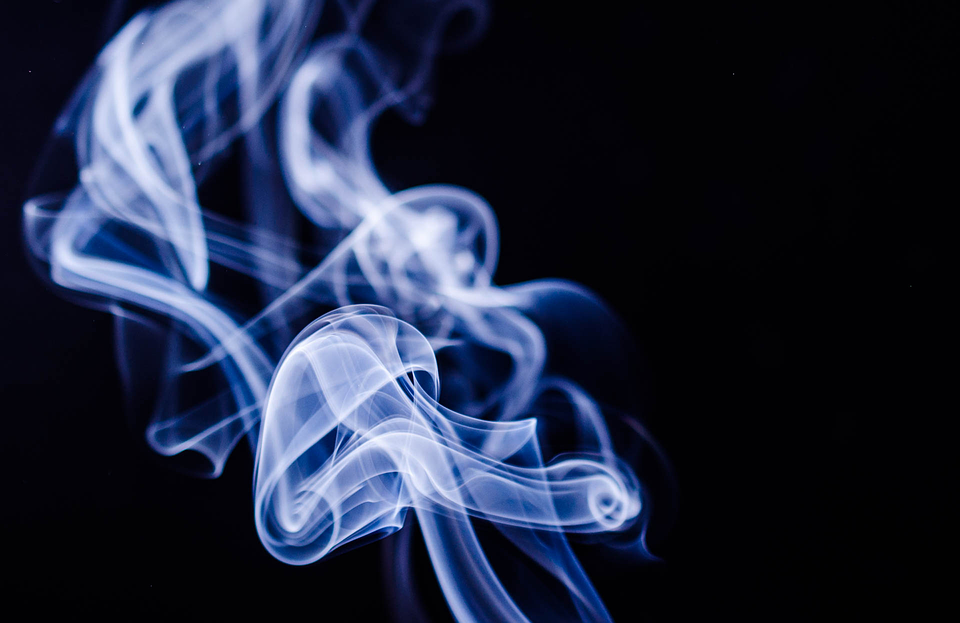
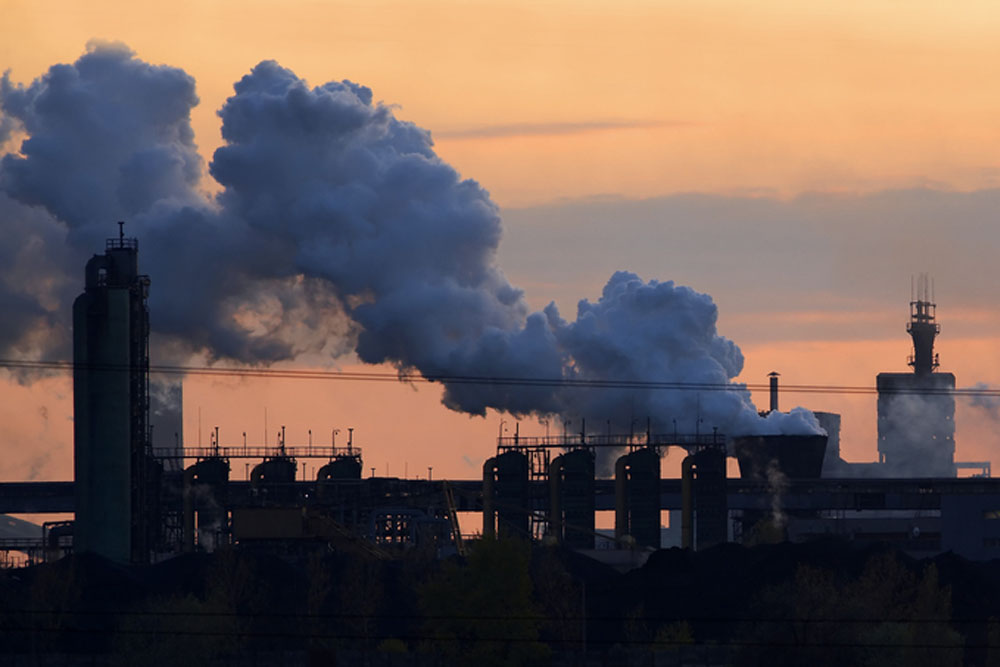
Nowadays, the ecommerce business owners believe in detail description of the products so that their customer get detailed information about the product. What if you as a product photographer come across a client who runs an ecommerce business and his primary product is a smoke machine or incense sticks? Will you accept the challenge and perform the smoke photography? Or will you reject the offer?
We would suggest that you accept the offer. For two reasons, first, you became a product photographer as you were ready to face any challenge that comes across. And second, by the end of this article, you will know how to perform smoke photography.
Even if you do not come across a client now, you surely will encounter such clients in future and learning a new genre of photography is no harm.
So let us get our smoke photography lessons started
The tricky part of smoke photography is that you cannot control smoke particles on your own like your other subjects. This makes smoke photography a big challenge but, anything done with determination leads to success.
SETUP
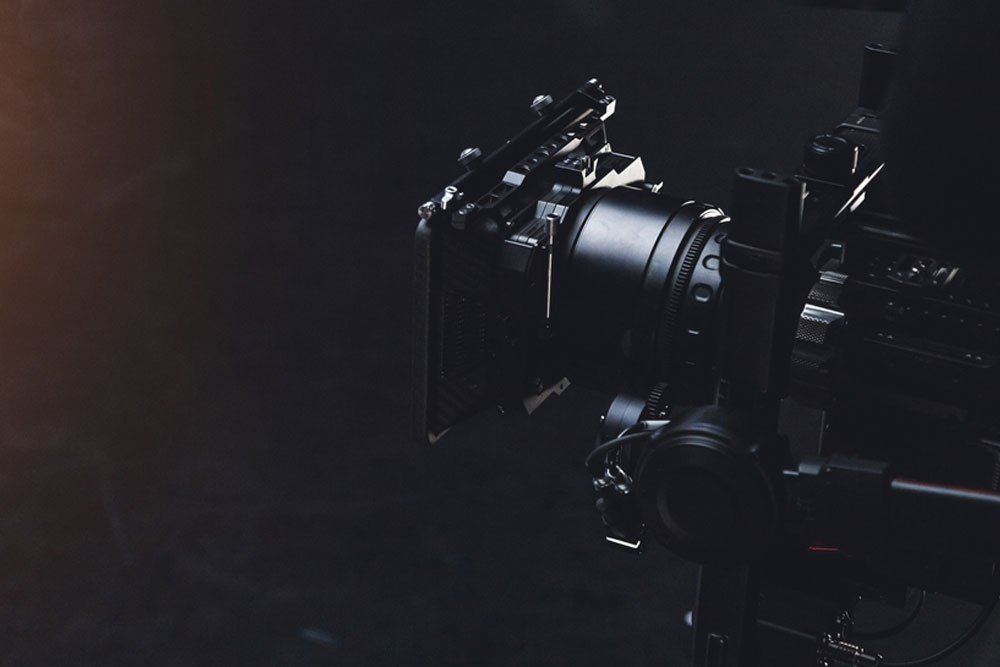
- The most basic need for any kind of photography is the camera so, a DSLR camera with any good lens. It would get easier if you have a macro lens.
- A power controllable flash.
- As this is a practice session, get a smoke producing object which is not harmful like an incense stick.
- If you are not comfortable with setting the focus and changing the composition, get a tripod.
- A table lamp as it helps to focus on the smoke when pointed at it.
- A black cloth for the backdrop and two black cards or sheets that can form a rectangular snoot.
- A wireless trigger.
PROCEDURE
- First, fix the black backdrop to the wall. After that, place the incense stick a foot away from the backdrop but, do not light it.
- Now, take the table lamp and position it in such a manner that it points at the tip of the incense stick. You can place the lamp either on the right side or left side (at either the 3 o’clock or the 9 o’clock angle) of the stick.
- Now, place the strobe on the opposite side of the table lamp. The lamp should be at half a foot distance from the incense stick. At first, adjust the flash to 1/16th of the power and later you can increase or reduce it depending on the output of the image.
- Now, place the two black cards on either side of the strobe so that the light coming from the strobe does not spill out on the backdrop.
- Now is the time to light the incense stick and start the smoke. Make sure that your setup is in a place where you have good ventilation so that your room is not smoked out.
- Switch on the table lamp.
- Set the aperture of your camera to f8.0 and shutter speed at 1/200th of a second. Set the focus to manual.
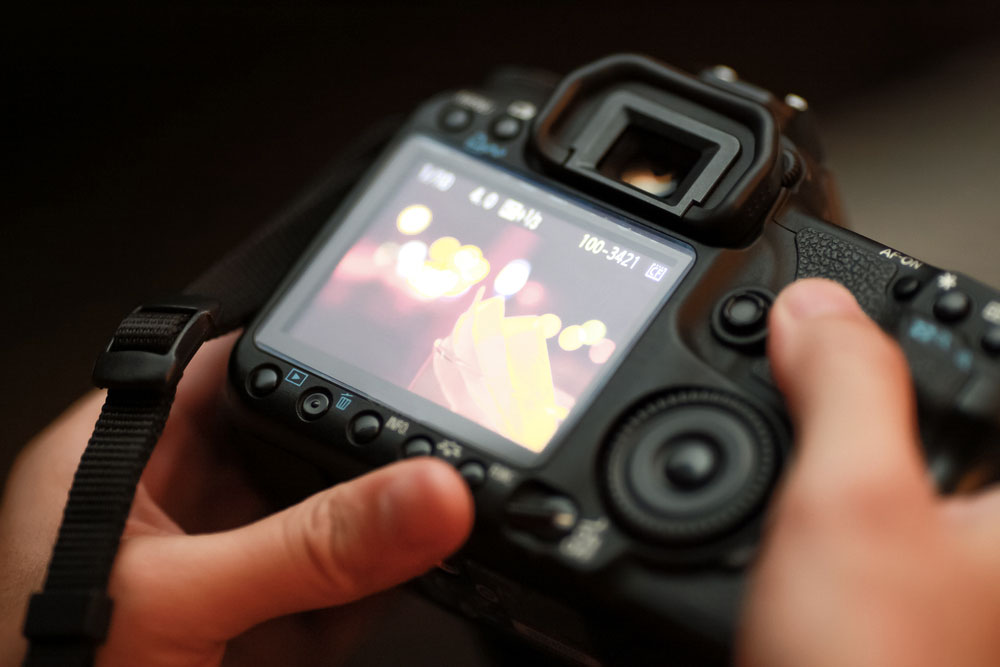
- Shoot in the RAW format. Start clicking some great pictures of the smoke.
- Now, to try variations in your smoke photography you can gently blow the smoke to get different shape and forms.
- To experiment with your skills, you can light two incense sticks together. This, in turn, will produce smoke of completely different shapes.
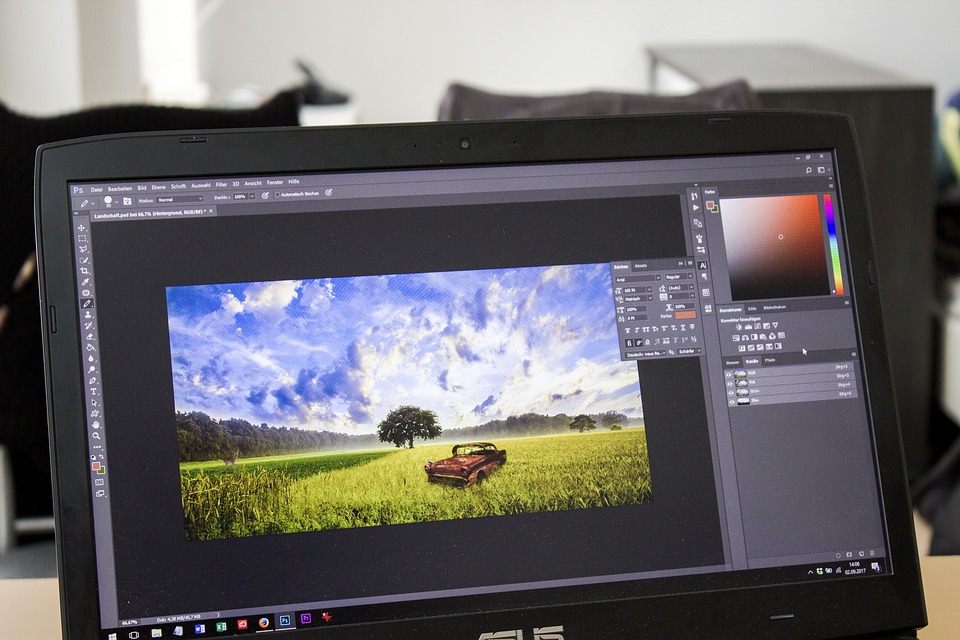
- Once you are done with shooting the pictures of the smoke, now it is time for some post-processing fun.
POST PROCESSING
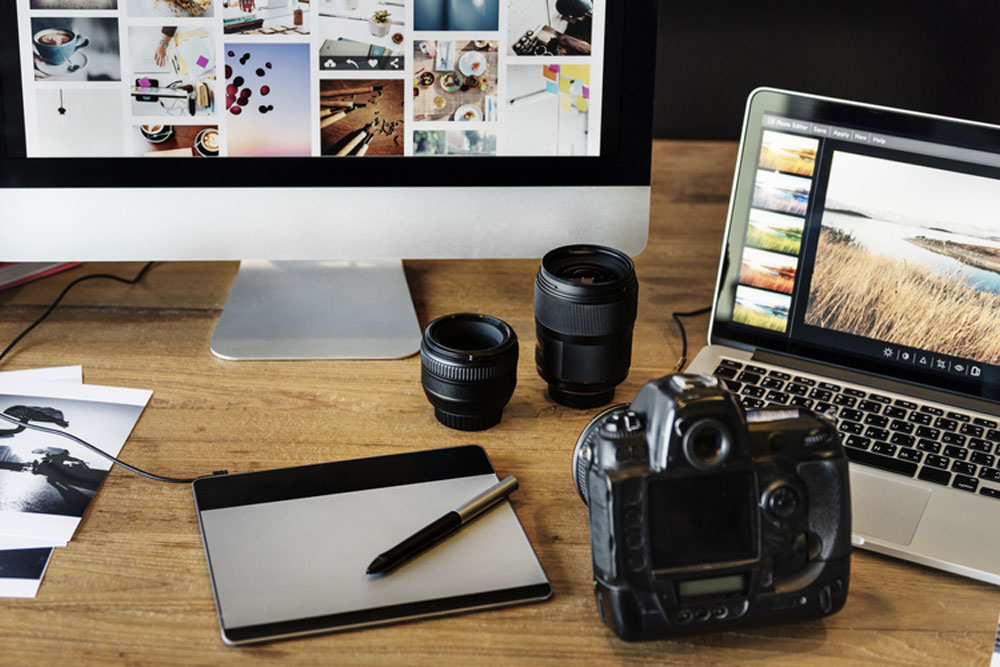
- Open the picture that you wish to edit in the Adobe RAW. if you feel there is some spill light in the picture, increase the black a little bit. Adjust the exposure and contrast according to your judgments.
- Open the image in Adobe Photoshop, make a duplicate layer, select paintbrush and set your foreground to black. Now, paint out the unwanted smoke in the picture.
- That is it, you are ready with your smoke picture. And if you want to add colours to it try Hue & Saturation adjustment layer.
- And if you want to change the background to white do the following: Go to Image > Adjustments > Inverse.
This is how you can achieve some amazing smoke pictures. But, just like another type of photography you can always try some new angles or post-process in different styles. Just play around with your camera and images until you are satisfied. Now, that you have all these tips in your hand, you can easily try your hands on smoke photography and impress your ecommerce clients with your skills. Also, if you have any queries regarding the topic you can ask in the comment section below.
